Snow Dog Woodworks and Quiltworks
Pursuing the tradition of creating finely handcrafted items in wood and fabric
Longarm Quilting Services ~ Londonderry, NH

www.etsy.com/shop/SnowDogQuiltWoodwork
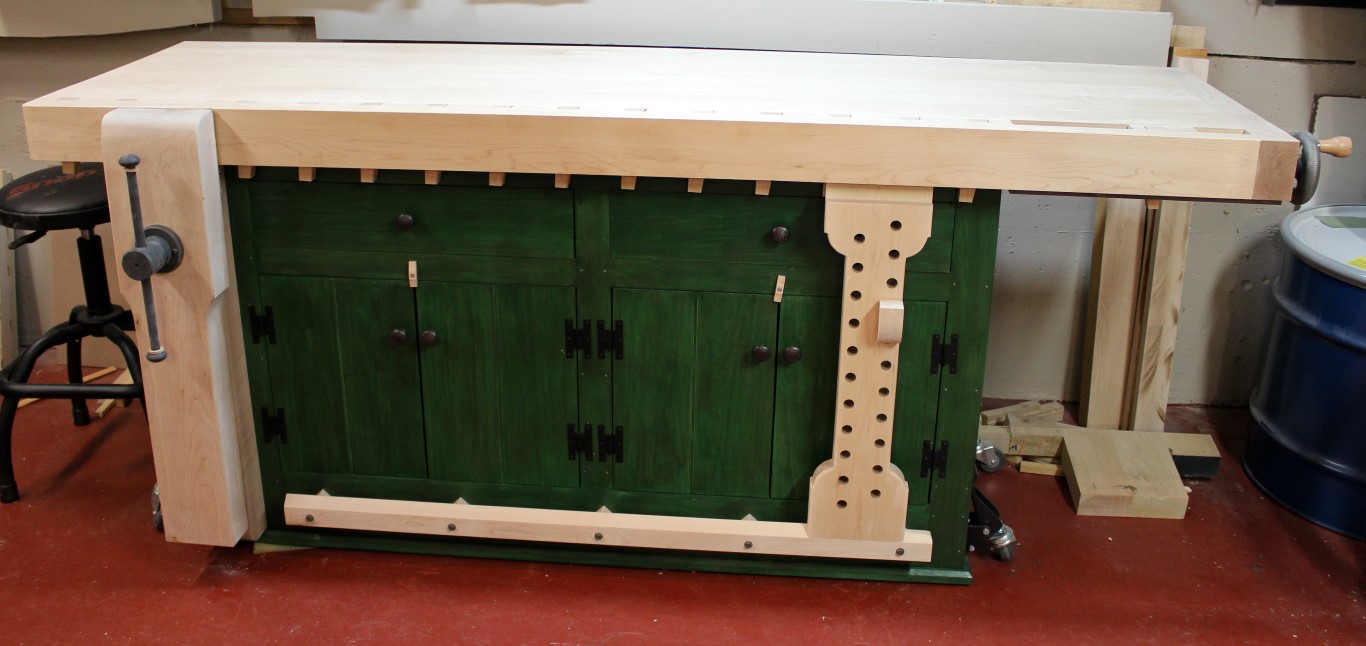
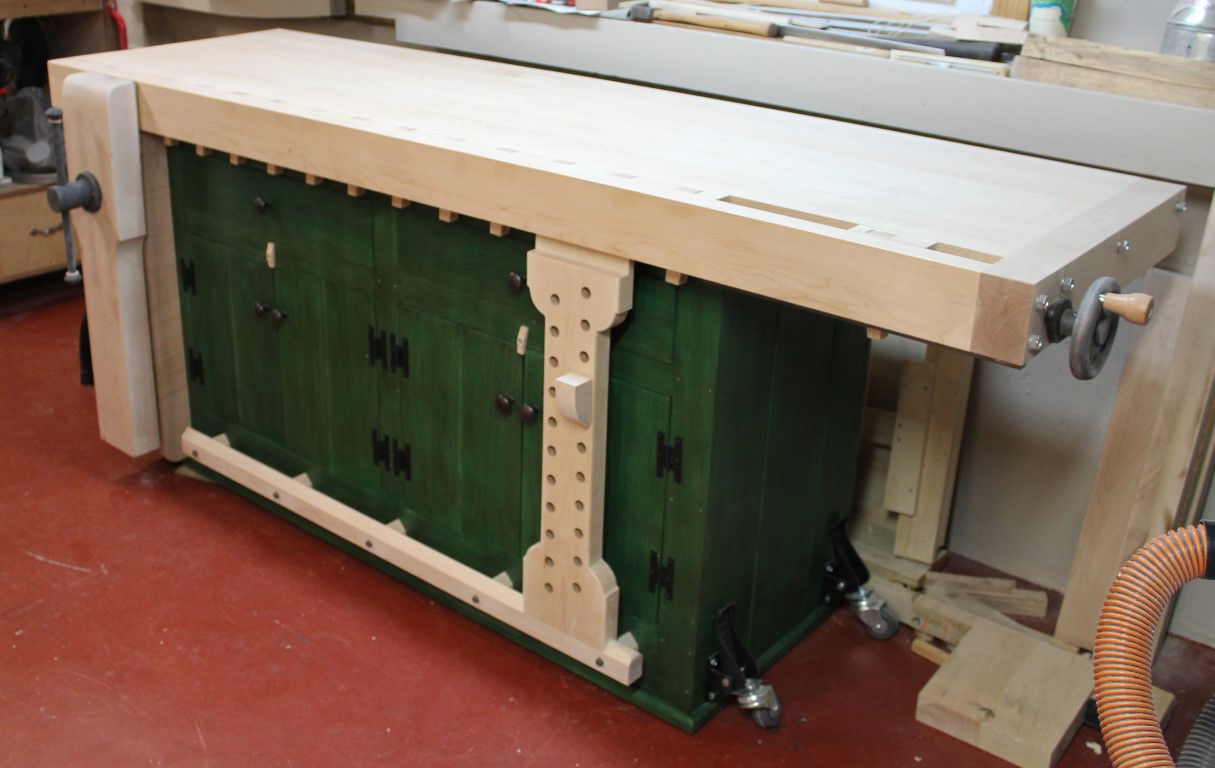
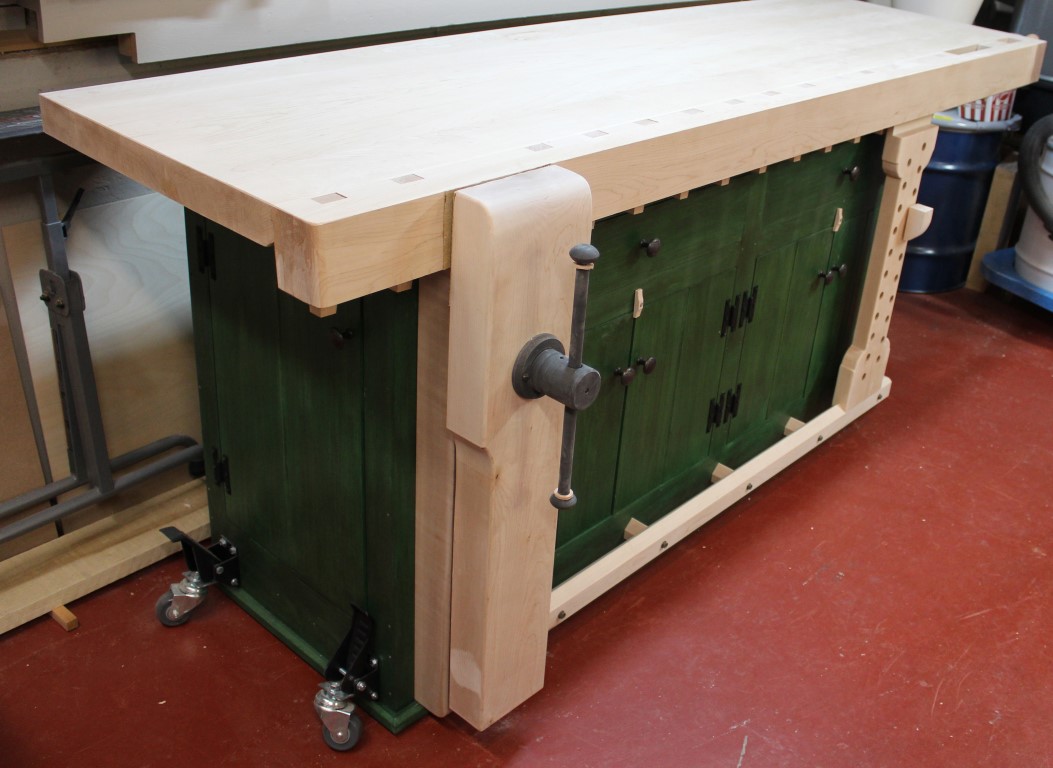
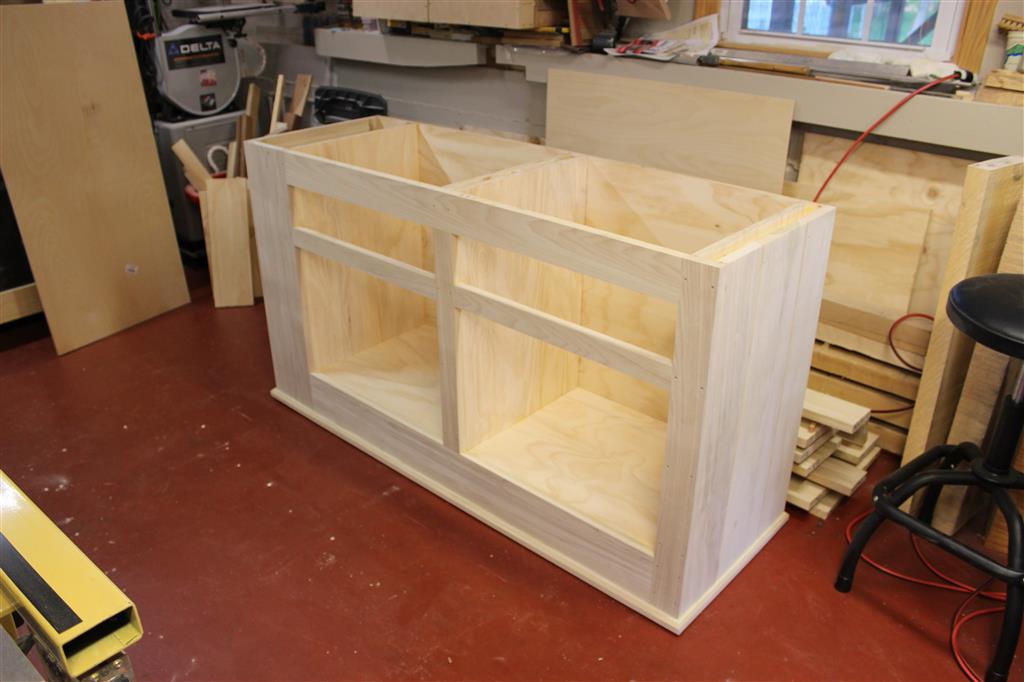
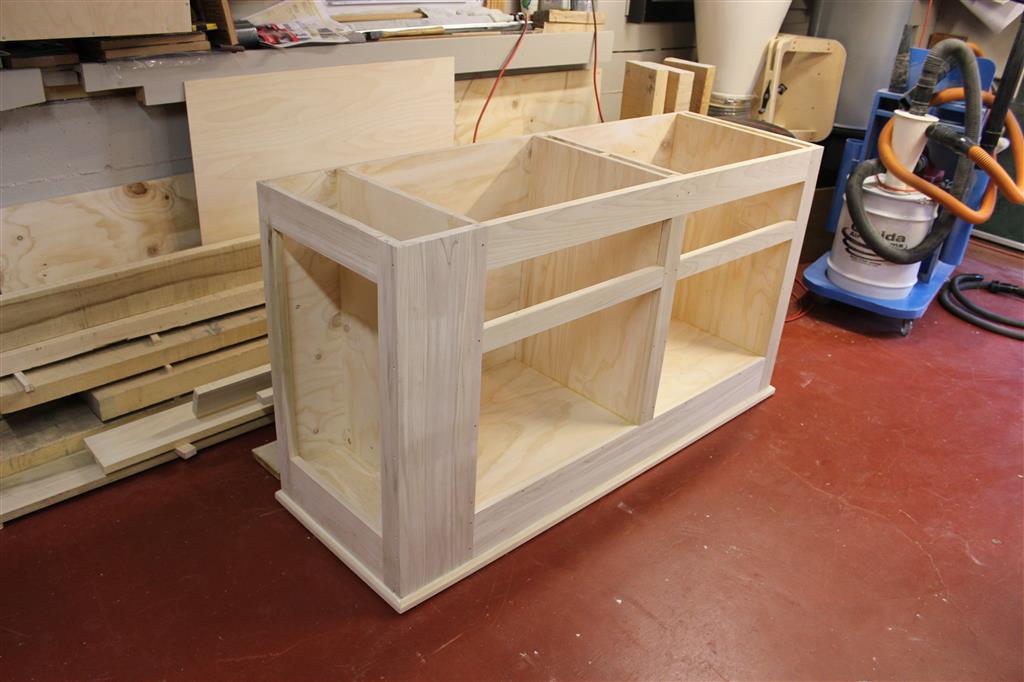
Over the winter, I began thinking about designs for a new workbench. After looking at all the vise hardware options available, I chose Benchcrafted hardware due to its high quality and it's made right here in the U.S.A. I also really liked Benchcrafted's Shaker Bench for which plans are available. This bench seemed like a solid bench that makes full use of the space by offering a complete cabinet for additional storage, which is always at a premium in my shop. In every way, this bench is a massive upgrade to the bench that I have been using in my shop for many years.
After obtaining the plans, I was both impressed and a tiny bit overwhelmed. First off, the plans arrive printed on 20"x30" high quality paper - the sheer size makes it difficult to even examine them without first finding a place where you can really spread out. There's also no cut list to intentionally force the builder to become completely familiar with the plans before purchasing lumber. While this turned out to be a good thing, it was a bit different from typical plans that you may be familiar with from the usual woodworking magazines. Overall, the plans seem to exceed the quality that I am used to from magazines and I've found that I can trust the printed dimensions without having to be overly concerned with double checking everyhting, which is typically the case with plans from magazines.
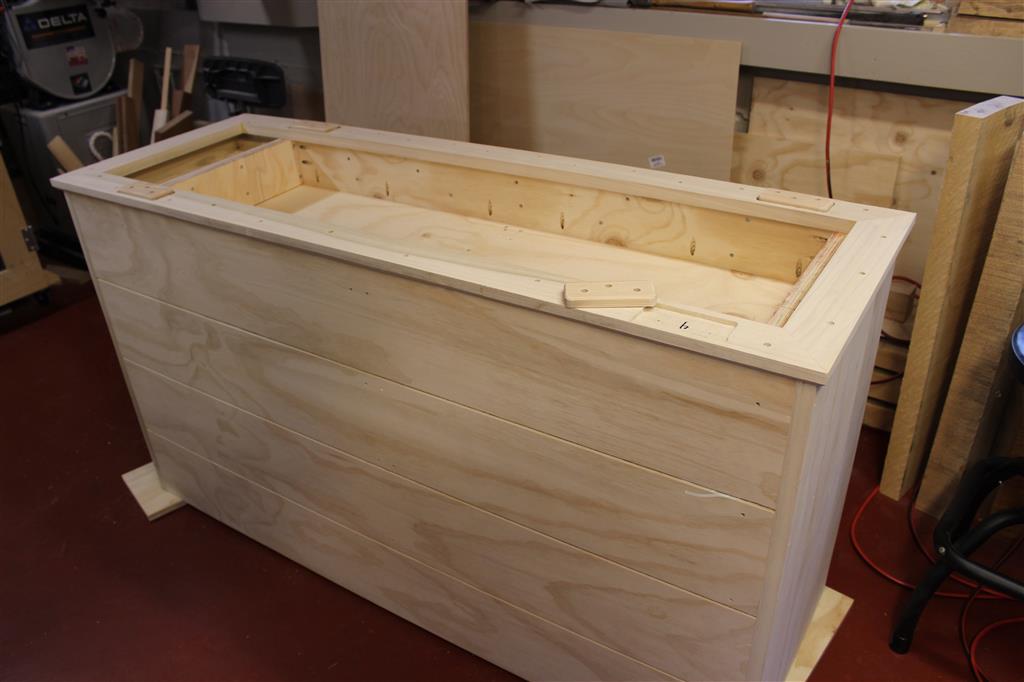
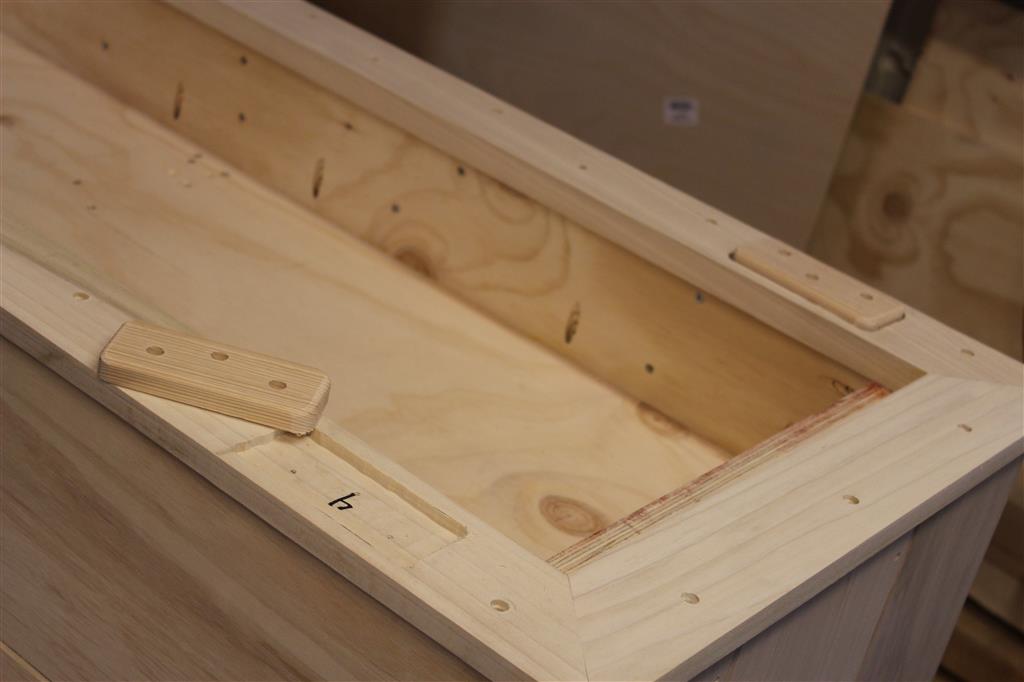
Then came the choices for wood - what to build my bench out of? I struggled with this for a while and ultimately chose Hard Maple for the top and Poplar and plywood sheet goods for the carcass. I went with cabinet grade plywood for the case frame and full one inch thick Poplar for the face. The plans called for 8/4 rough Maple for the top, which would result in a 1 3/4" final thickness. Since I may want to use holdfasts on the top, I chose to go a bit thicker and bought 10/4 rough Hard Maple for the top with plans for a 2" - 2 1/4" final thickness.
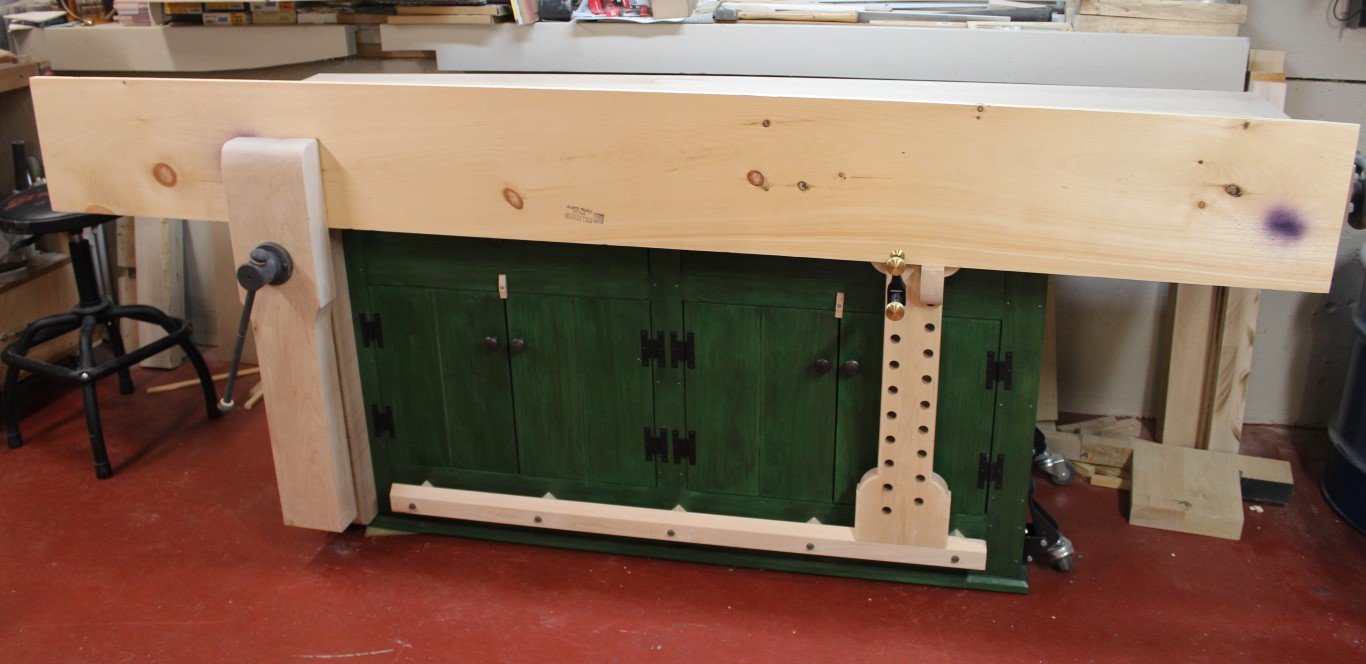
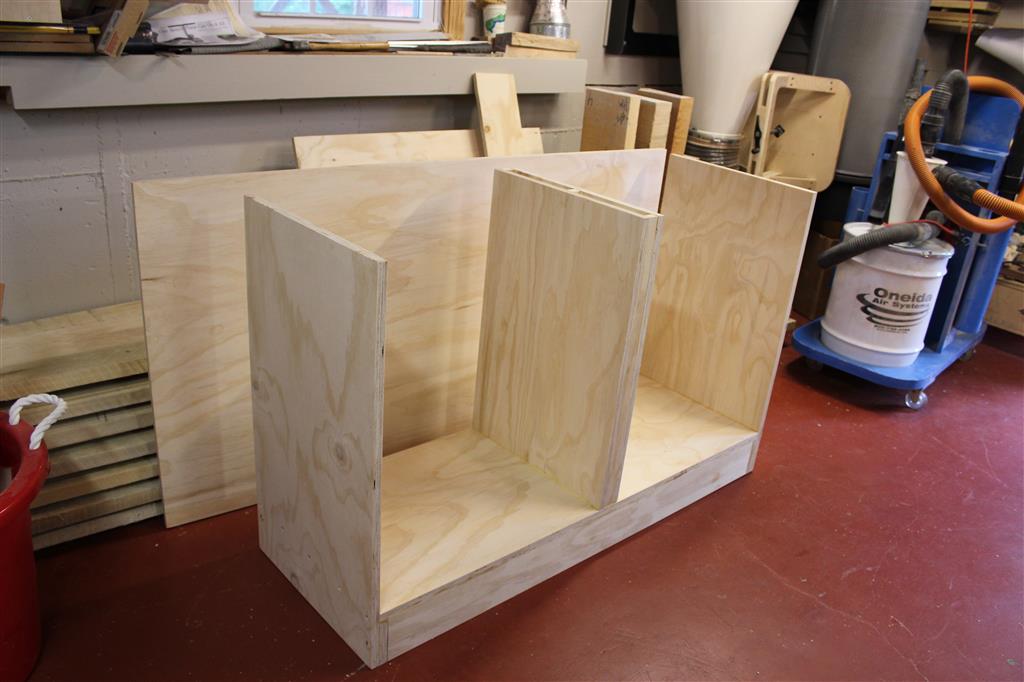
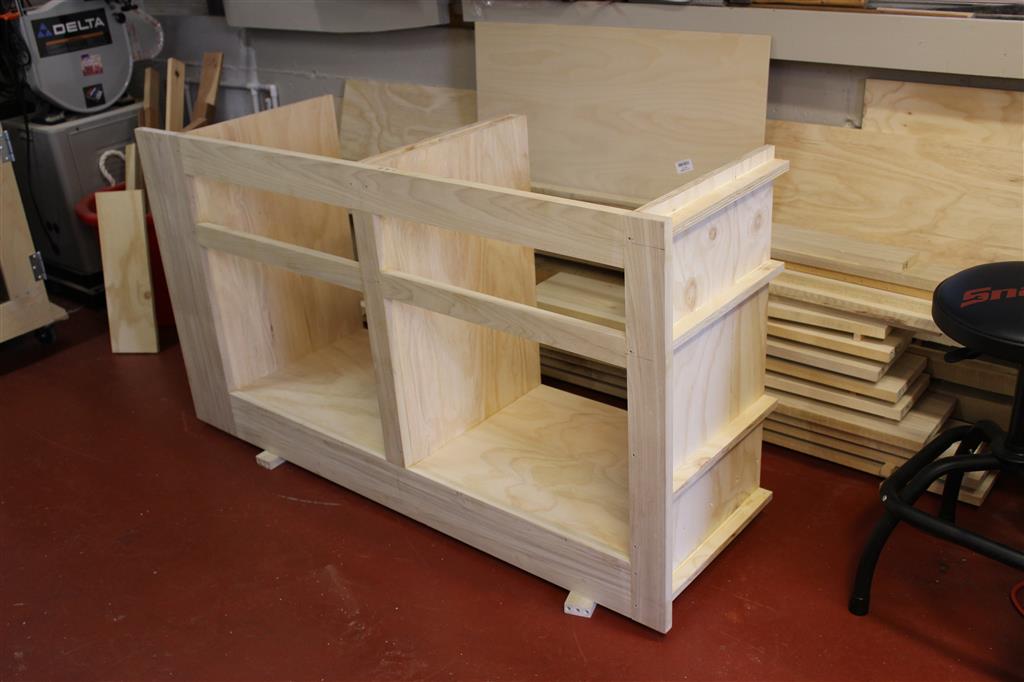
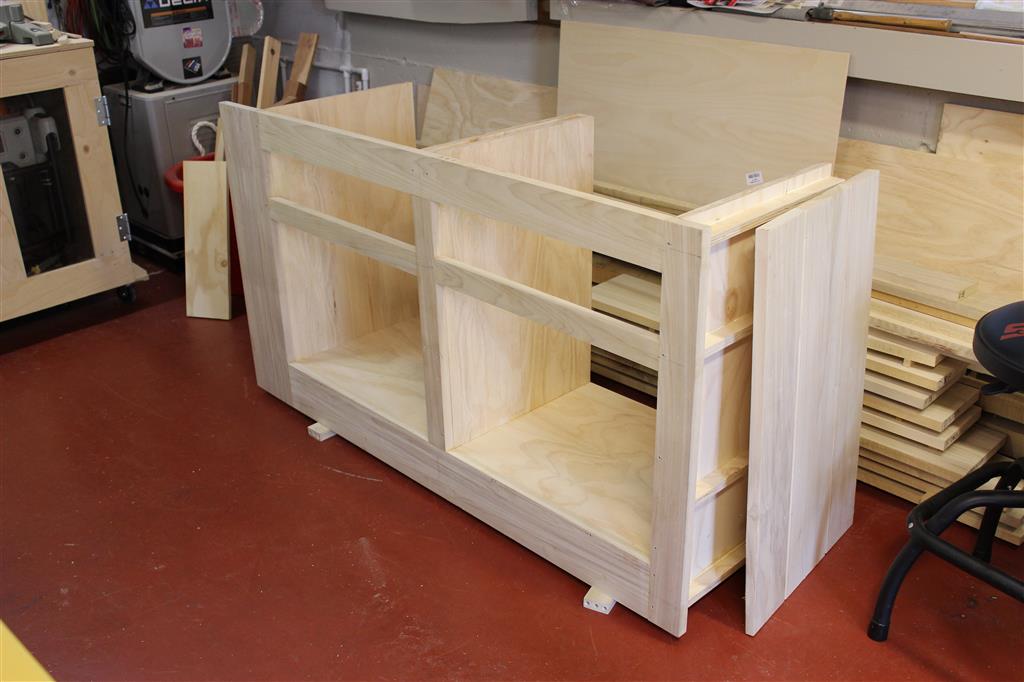
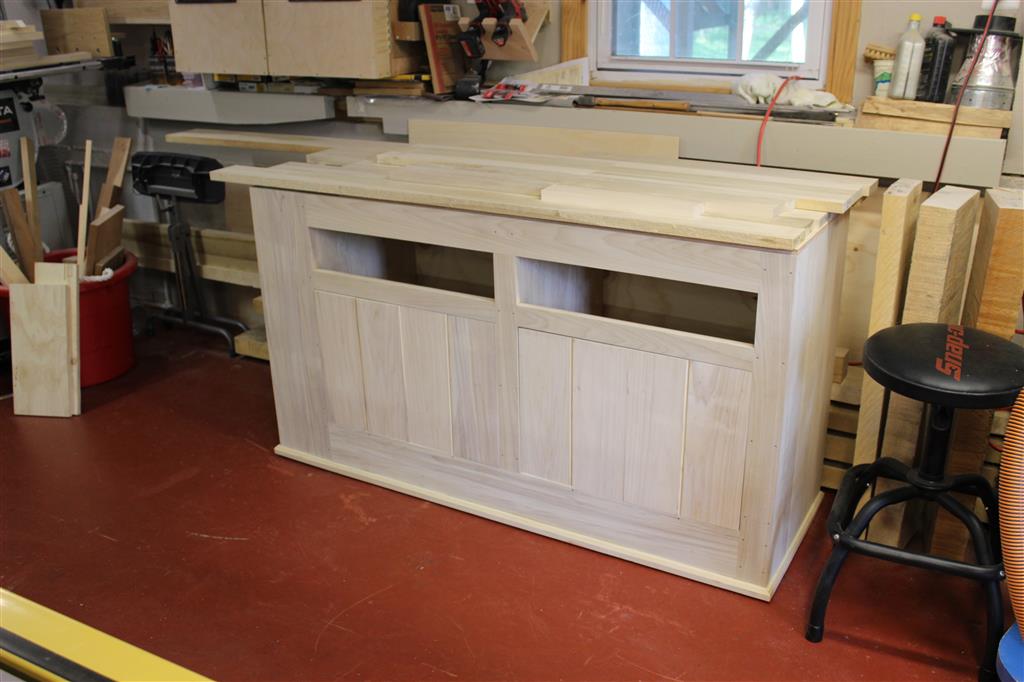
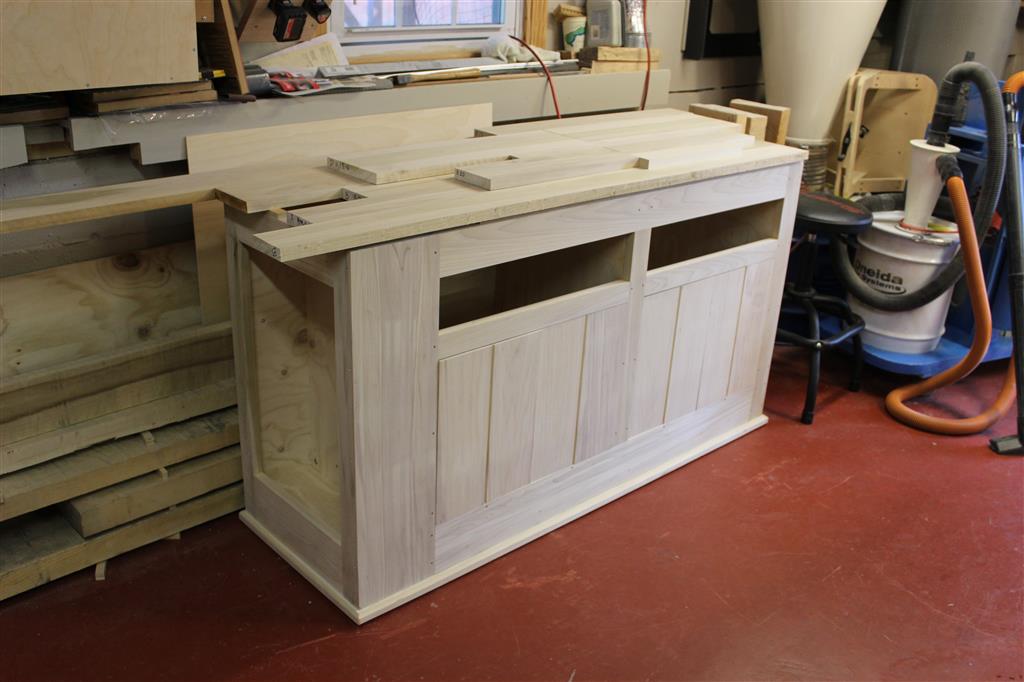
So far, the bench is approximately halfway complete with the carcass fully assembled and finished. I chose to roughly follow the finishing instructions from the Benchcrafted plans, although I substituted some finishes based on what was readily available and what I was most comfortable with. I started out with a simulated milk paint - this is basically a pre-mixed milk paint which was available locally. I used Olde Century Colors Simulated Milk Paint in Holly Hill Green - since I wanted some wood grain to show through, I chose to thin with water at 1 part milk paint and 3 parts water. Two coats gave a nice consistent finish which I then cut with a Scotch Brite Pad and topcoated lightly with Walnut colored Minwax Gel Stain. After a couple days of dry time, I topcoated with a single coat of Satin Minwax Polyurethane.
So far, I have learned a lot from this project. In particular, the plans suggested using hand planes for wood preparation, something that I have never attempted prior to this project. I guess that I started woodworking while watching The New Yankee Workshop and if Norm can do it all with power tools, then that must be OK. Since I was going to need to process some large stock - larger than my 6" Jointer can handle, I researched other options and decided to purchase a low angle Jack Plane with a couple of different blades, including a toothed blade. This plane combined with a set of shop-made winding sticks helped me to flatten one side of my wide boards in preparation for a pass through my power planer. This worked extremely well and the resulting lumber was flatter and better prepped than ever before. This is definitely a stock preparation secret that I plan to use a lot on future projects.
So far, so good - now for some pics! Hope you enjoy following my progress.

I recently completed the new workbench. It was a long process, but all that time paid off and the completed bench was nice an precise. The leg and tail vises work very smoothly just like the videos on the Benchcrafted leg vise page. I also learned a great deal throughout this project. It was probably my most ambitious project so far. The moving parts involved with the two vises made it far more complicated than other typical furnitur projects. I have no doubt that it will be an extremely useful tool in my shop.
Enjoy the pics.